Jitsi Server
Server Prerequisite
-
Operating System: ubuntu 22.04 (LTS).
-
Instance Type: t2. Medium
-
Port Required: 80 (http), 22 (SSH)
-
Public IP
-
Fully Qualified Domain Name (FQDN).
-
SSL Certificate (Optional)
-
Port Required: HTTP, HTTPS, TCP [22,4443,5222,5347,5347], UDP [10000]
HTTP Redirect/ SSL Certificate Renewal TCP 80 Nginx Public
HTTPS/Bosh/Secure Websocket TCP 443 Nginx Public
SSH (optional) TCP 22 OS Private
Media Traffic UDP 10000 JVB Public
Media Traffic in Restricted Firewalls TCP 4443 JVB Public
For XMPP components (eg: Jicofo)* TCP 5347 Prosody Private
For external XMPP clients (eg: JVB, Jibri) ** TCP 5222 Prosody Private
Installation Steps
-
Copy the Installation Script “Proconf.sh” to The Server.
-
Provide Execution Permission to the Script by Entering the Following Command:
sudo chmod a+x Proconf.sh
- Run the Script by Entering the Following Command:
sudo ./ Proconf.sh
-
The Script will Start the Installation of Jitsi along with all the Softwares required to run Jitsi.
-
Script will ask the Permission to add the repos, Press Enter to Continue.

- It will ask for FQDN During the Installation Process, Provide your FQDN in following Format:

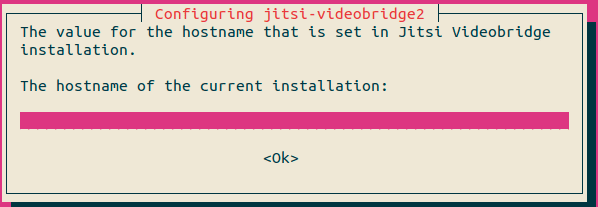
- After Providing FQDN it will Ask for the SSL Certificate, Choose Your Certificate type to Continue:
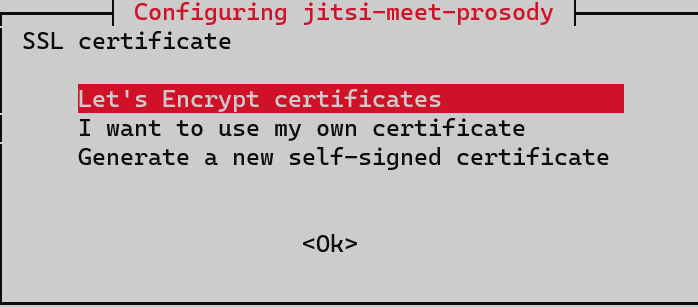
8.After Providing SSL Certificates the setup will be complete in few Minutes. It will ask to apply the Firewall rules & Reload firewall. Press Y & Enter to Continue.
9.After Firewall Reload your Jitsi Setup will be Complete & Server will be Ready to Access.
![]()