Azure ProCONF Setup Guide
Introduction
This page will guide you through how to setup ProCONF on Azure cloud using ProCONF service available on azure market place.
Pre-requisites
- If your application server domain is abc.com, You will need a fresh domain/subdomain (for e.g. proconf.abc.com) to setup ProCONF media server and  ProCONF admin backend. This setup will need  access to several links like https://*.proconf.abc.com and https://proconf.abc.com/admin. Please ensure that these links are white listed in your deployment setup.

- Setup up your VM using ProCONF service available on the Azure market place.

- Map your instance IP with your domain/subdomain
Executing Installation script
ssh into your instance

Go to your home directory "/home/azureuser" and execute main installation script using below command.
bash setup-proconf.sh
Enter proper inputs while executing script
The script will prompt user with dialogs for input parameters. You can cancel script execution at anytime by clicking on "cancel" button when dialog is prompted. You can re-run script whenever required to install setup again.
Completion of script execution
Once the script completes with installation of all the components you can check your input values by referring to below file.
/home/azureuser/setup_overview.txt
Testing ProCONF setup
After completion of script you can test ProCONF setup.
To test ProCONF quickstart example visit below link:
https://yourdomain
For testing quickstart example requires ProCONF token which you can find under setup_overview.txt file.
To test ProCONF admin dashboard you can visit below link:
https://yourdomain/admin
Enter the username and password which you had entered while setup. You can find admin username and password under setup_overview.txt file.
ProCONF setup guide snapshots
Please follow through all the snapshots helping you to setup ProCONF:
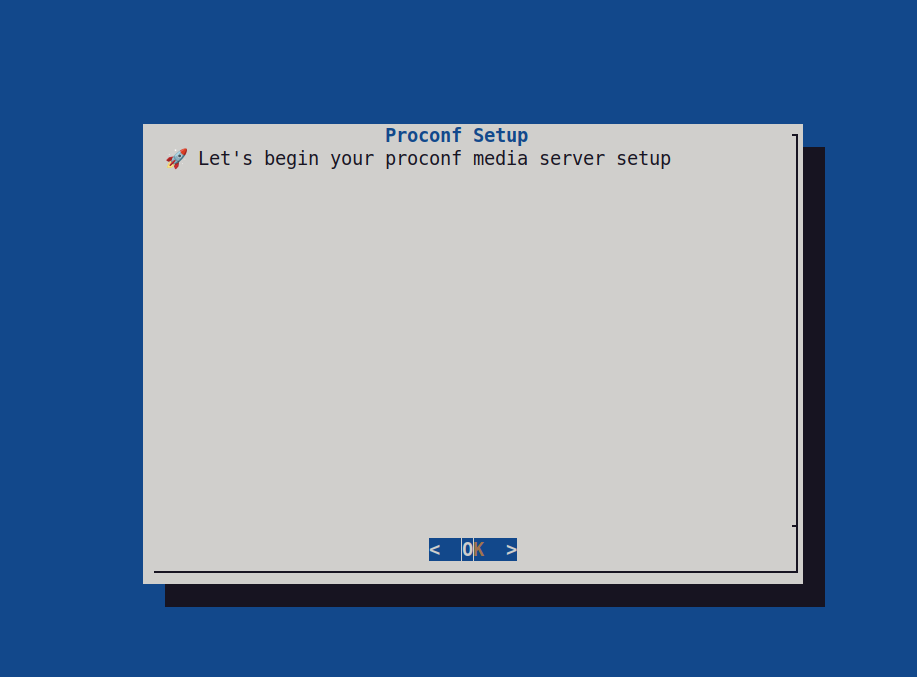
Once you start executing ProCONF main setup script you will see below screen:
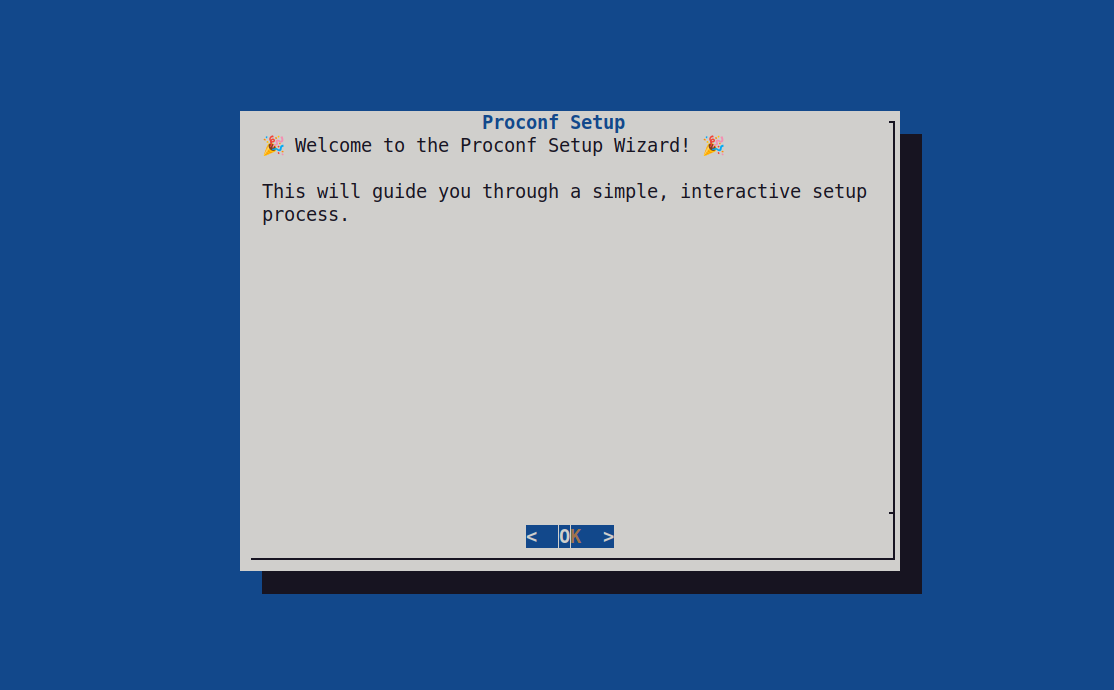
On click of "OK" button script will continue.
If ProCONF setup is already installed it will show below screen:
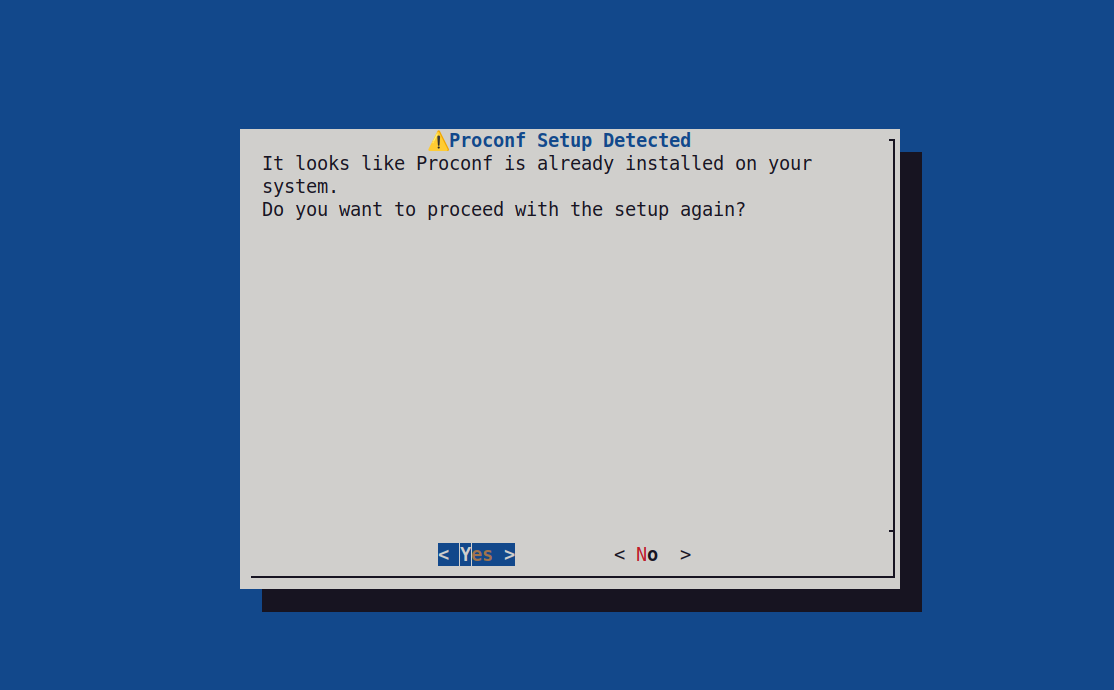
If user clicks on "No" button script will exit.
If user clicks on "Yes" button script will continue.
After clicking on "Yes" button script will start installing ProCONF setup as usual.
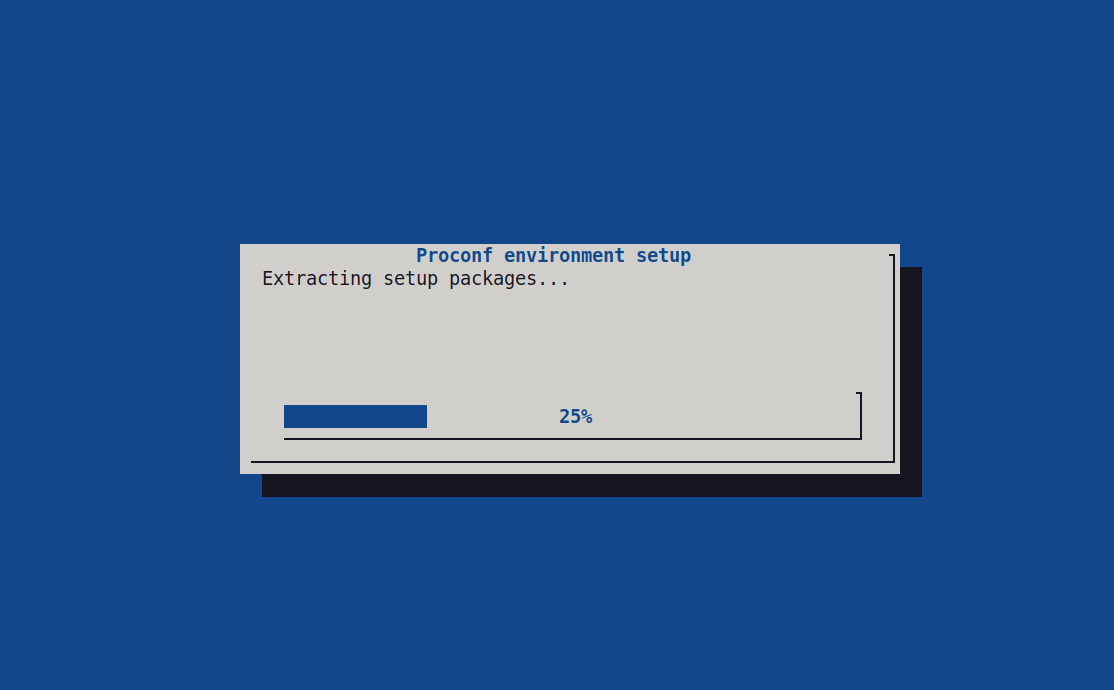
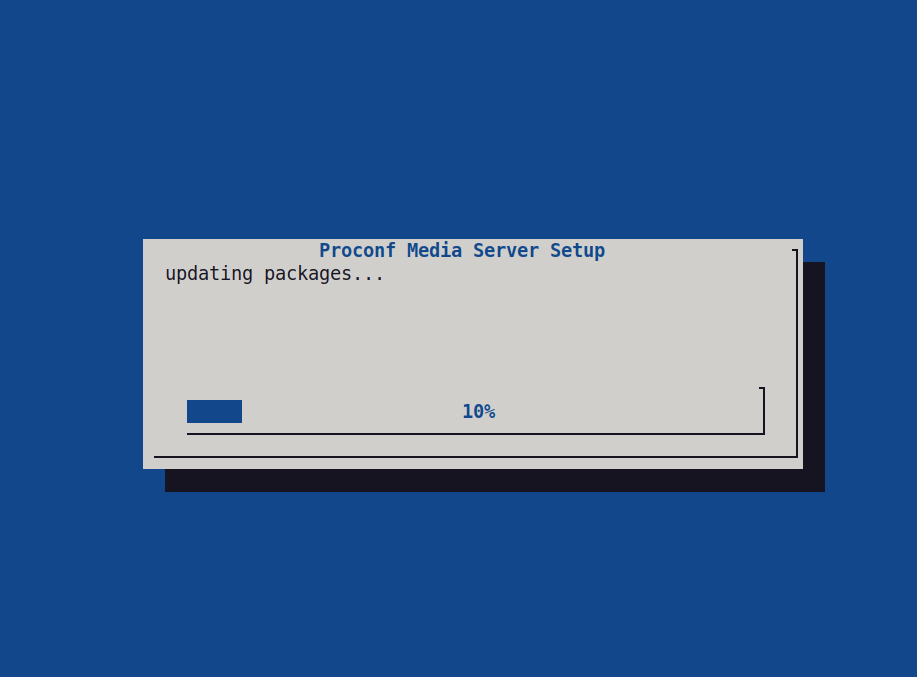
It will start showing progress of the installation for example see below screen:
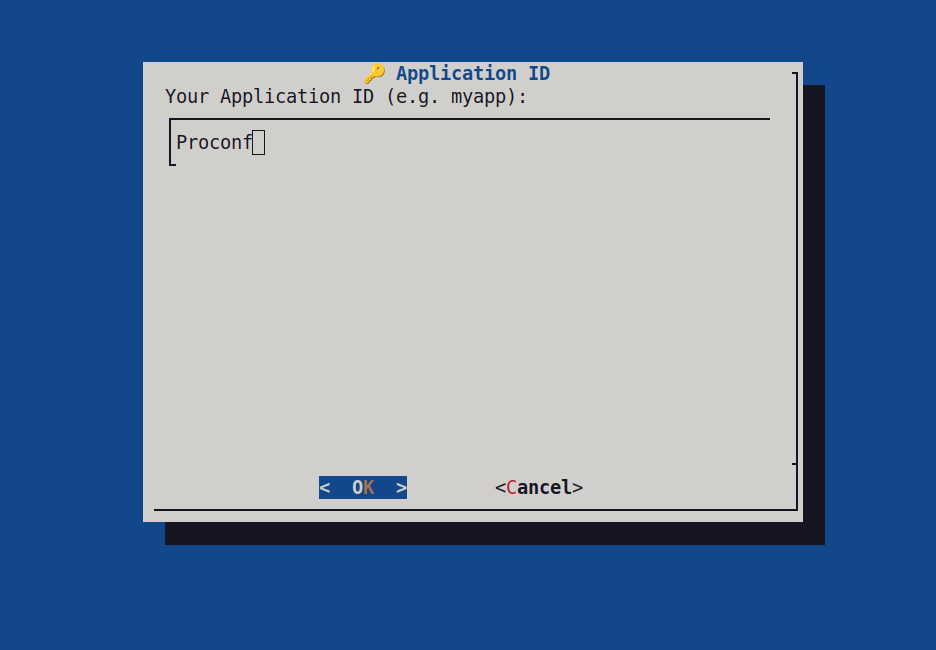
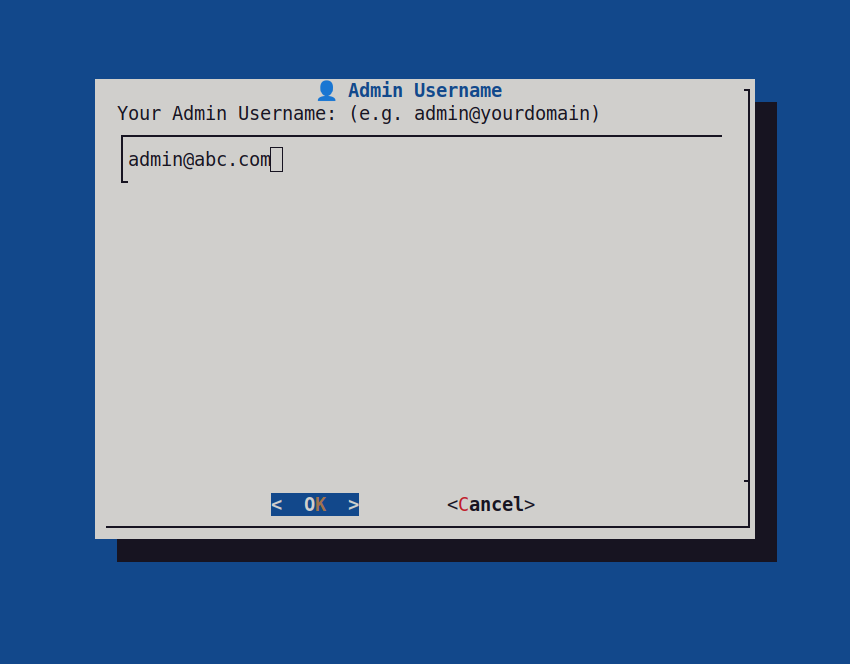
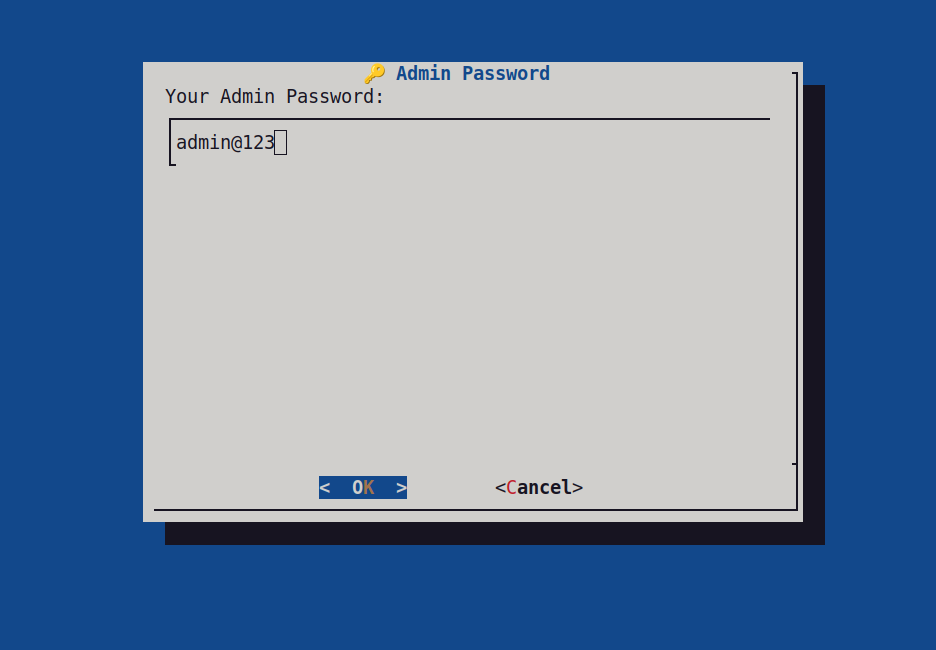
For continuing script, it will ask some user inputs required for setup, check below screens for the inputs:
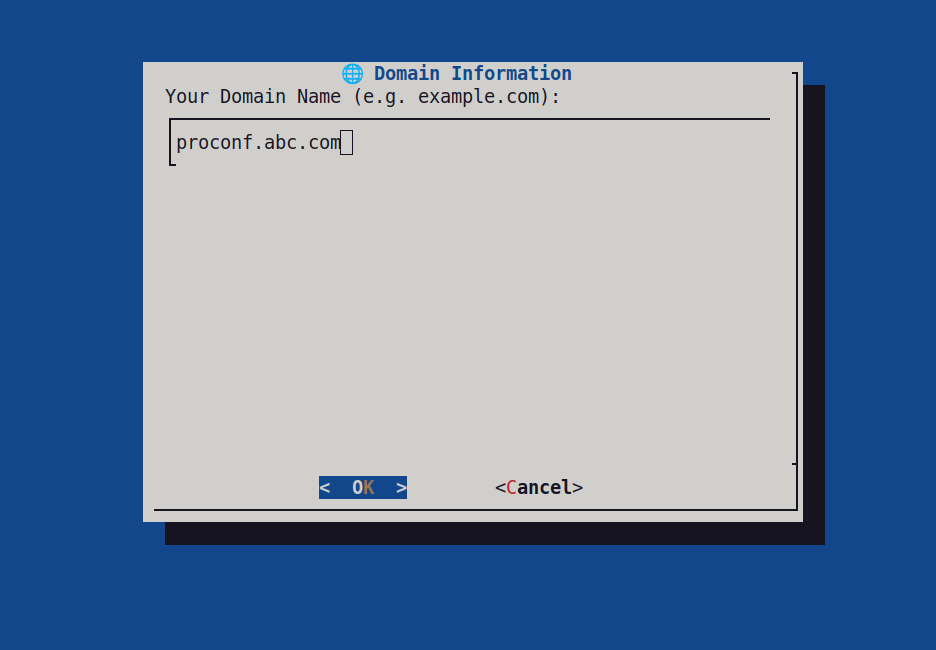
On click of "OK" button script will prompt for next input and on click of "Cancel" button script will exit.
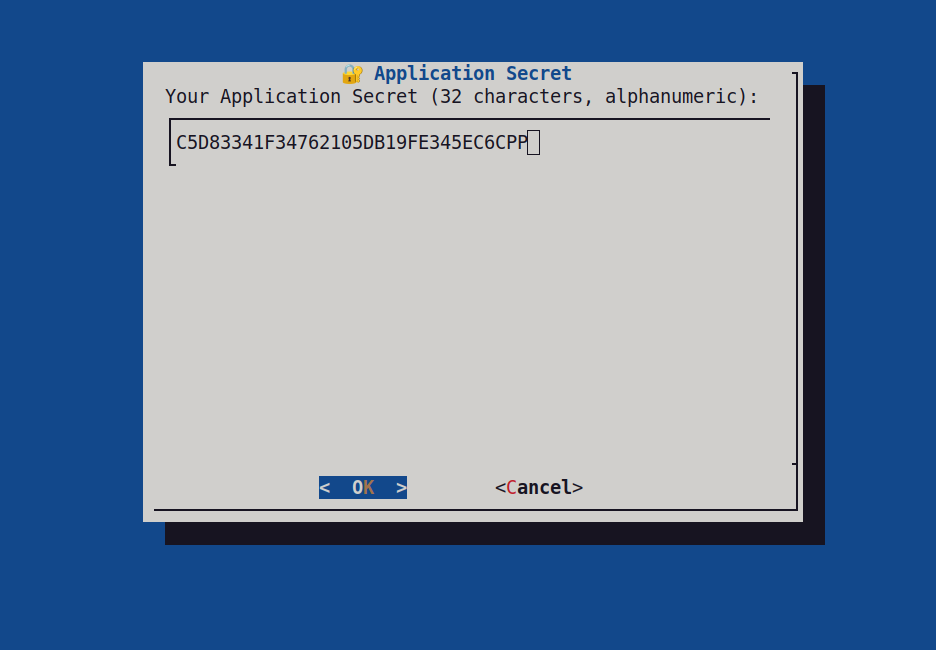
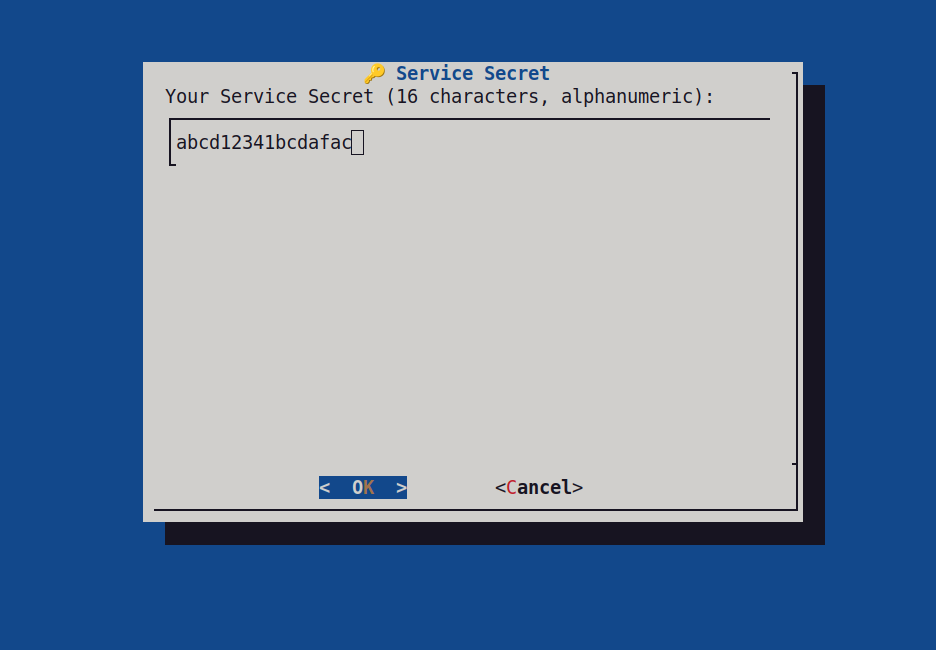
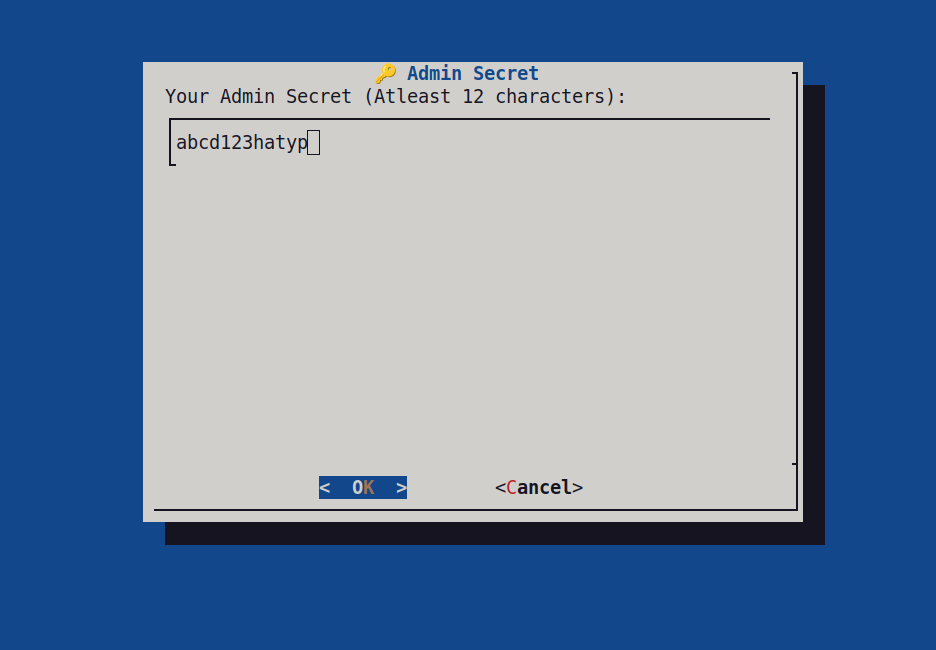
Please see below other user inputs:
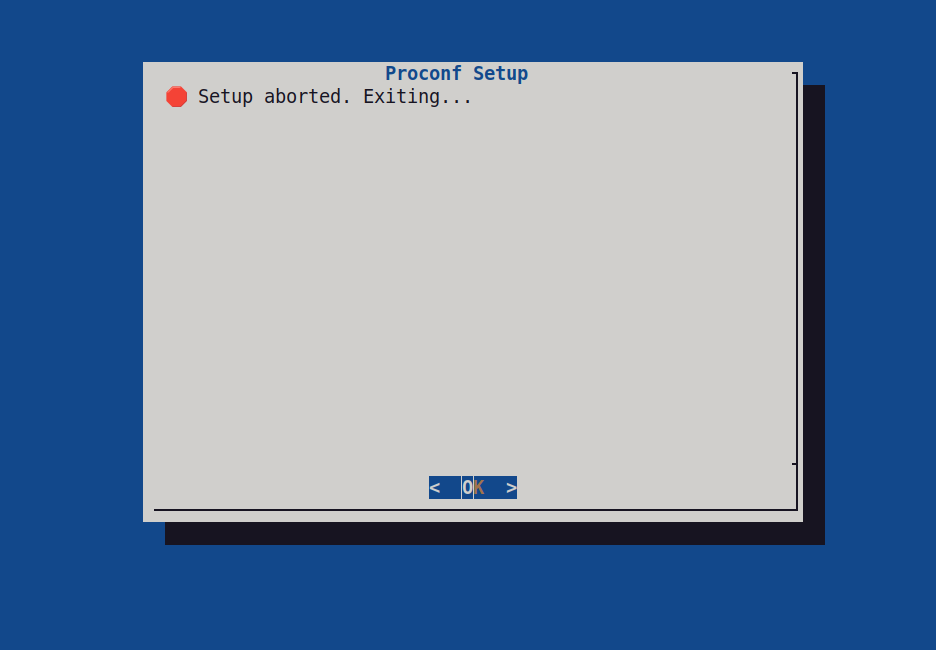
If user clicks on "Cancel" button on any of the input prompts shown above he will get below screen:
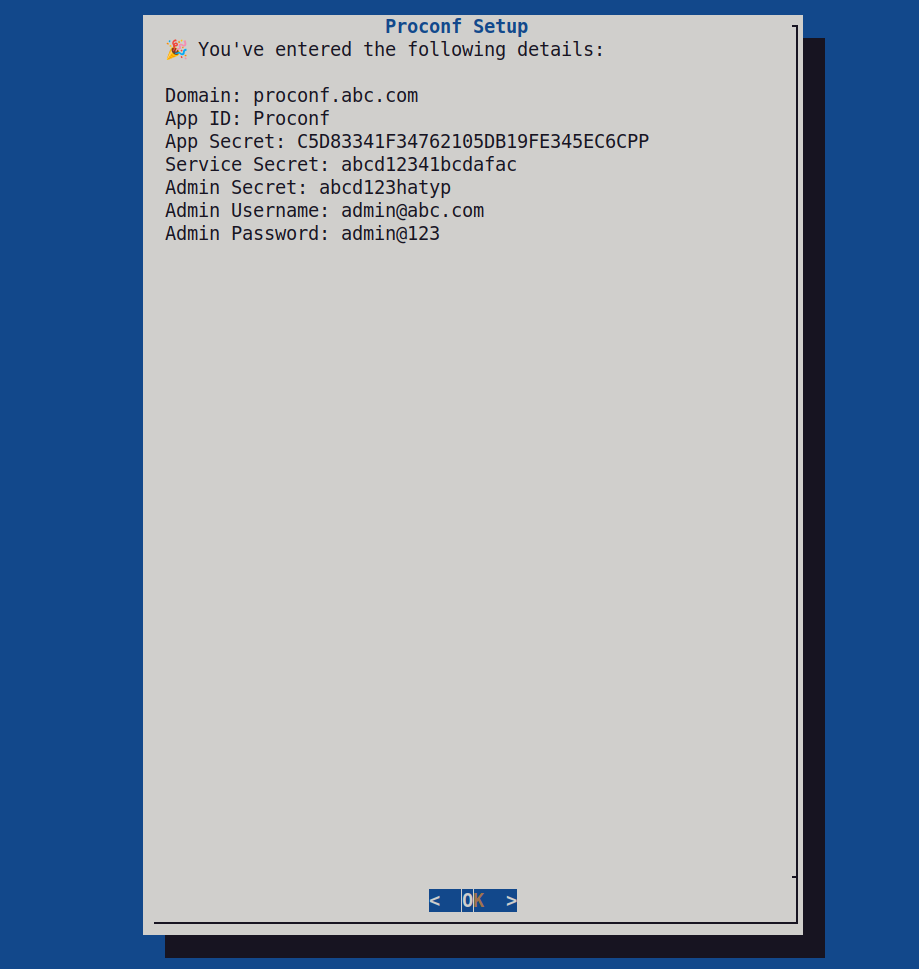
After completion of all the inputs script will show screen with details:
On click of "OK" button script will continue its progress as below:
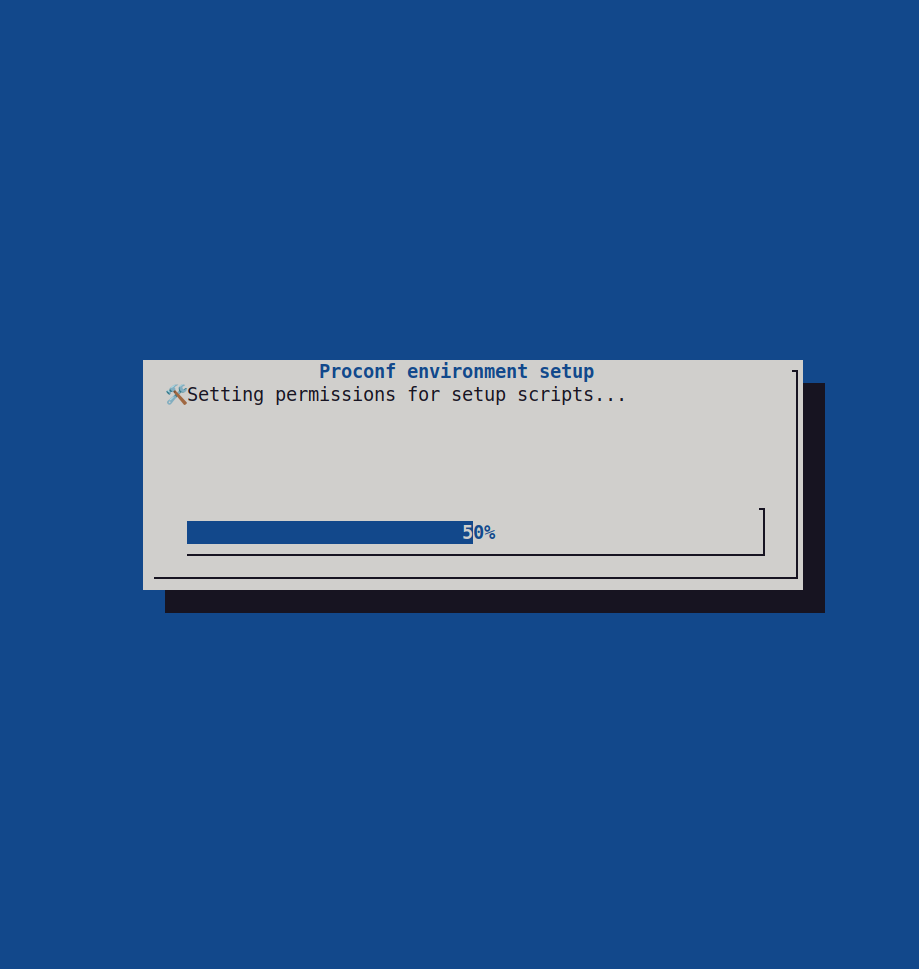
After that script will start installing all the components one by one. First it will install ProCONF Media Server component and it will prompt user with below screen:
On click of "OK" button of above prompt script will continue.
Script will continue with its progress till component is installed completely.
After complete installation of ProCONF Media Server it will show below screen:
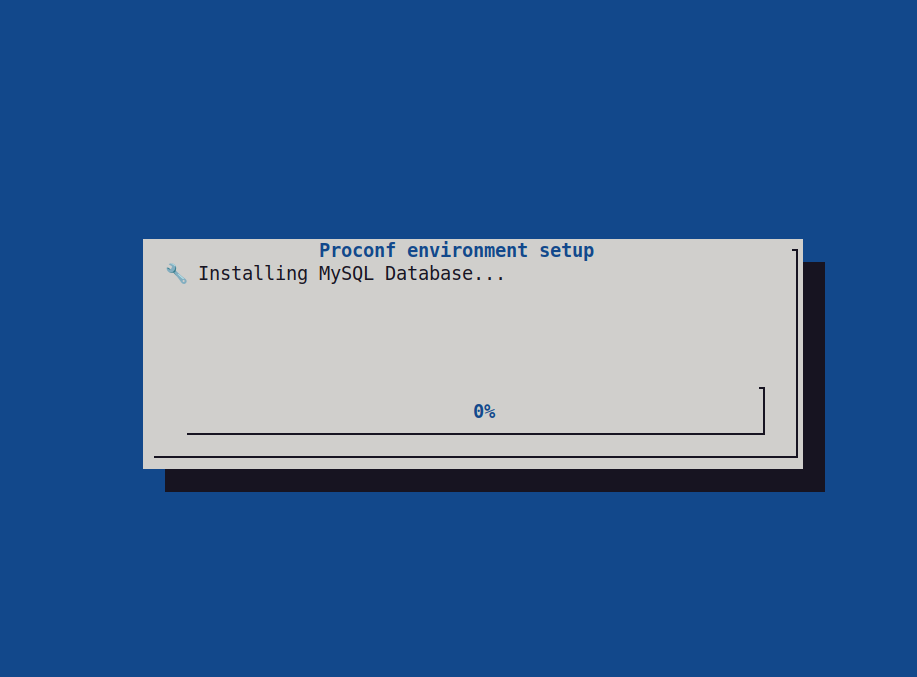
On click of "OK" button it will start installing ProCONF database component along with updating progress as shown below:
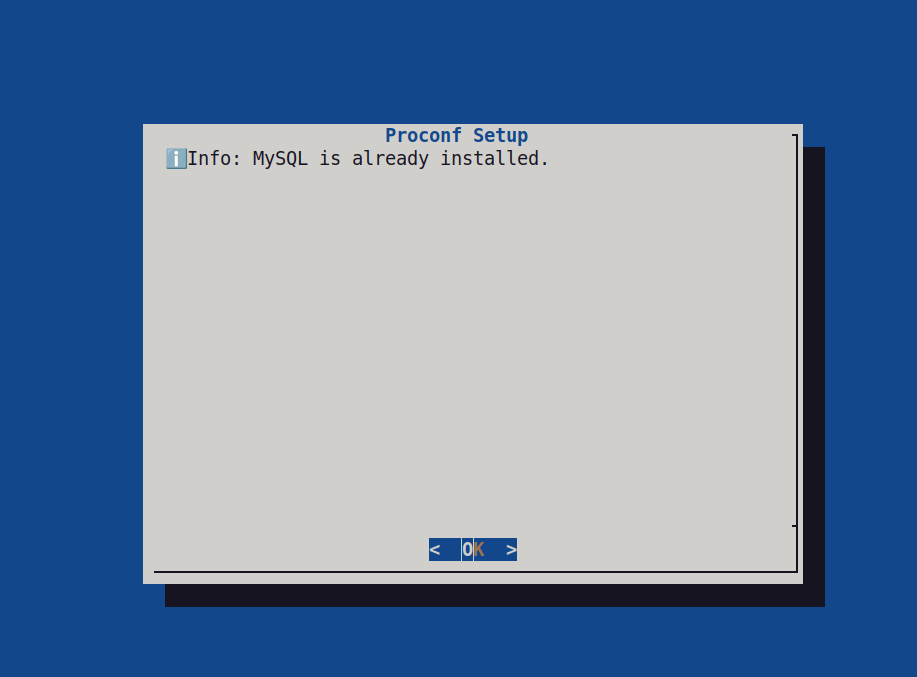
If mysql server is already installed it will prompt user with below screen otherwise it will continue with progress:
On click of "OK" it will show another prompt as below:

On click of "OK" it will proceed further with progress.
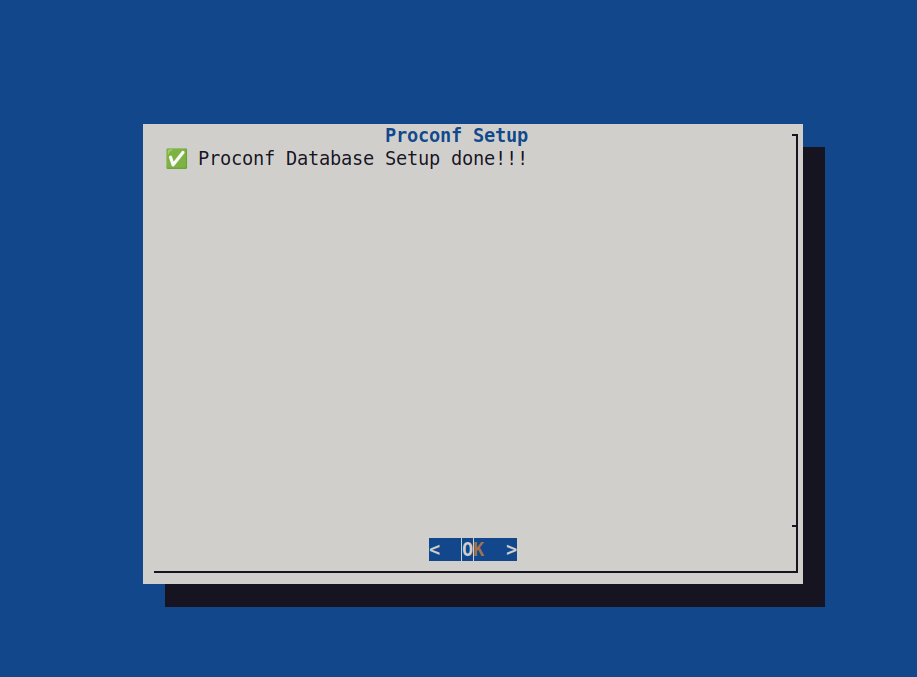
Once the database component installed successfully it will show below screen:
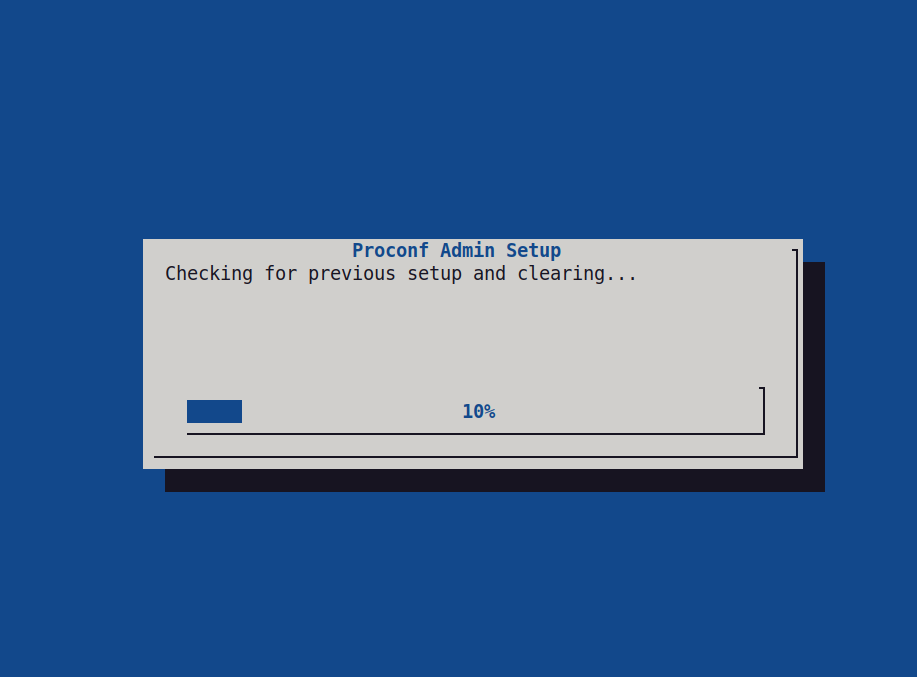
On click of "OK" it will continue with next component i.e ProCONF admin backend component with progress as shown below.
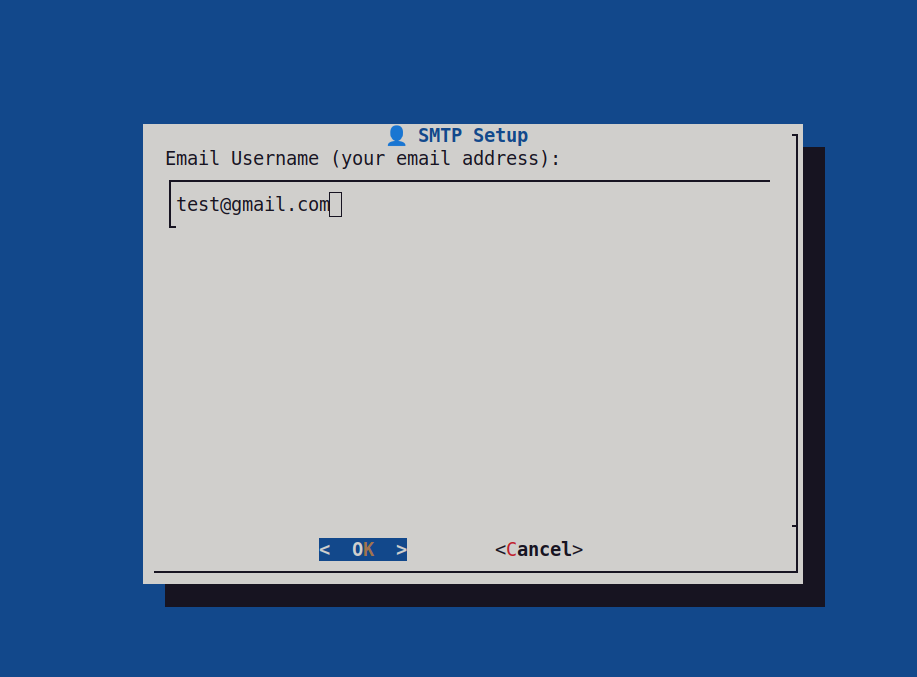
While installing admin component it will prompt user whether to setup SMTP or not. If user clicks on "No" it will continue with progress.
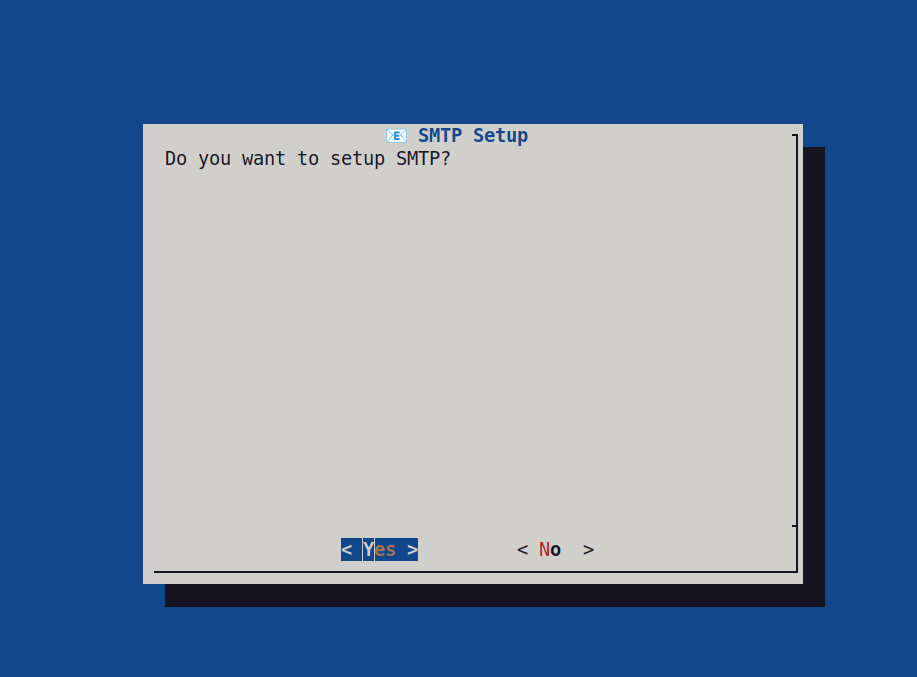
If user clicks on "yes" it will ask for below inputs:
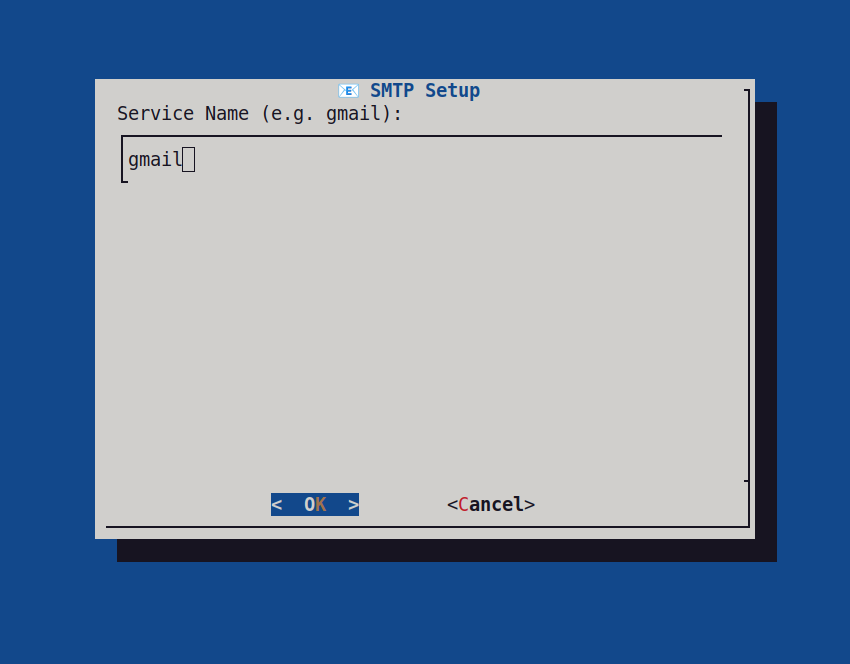
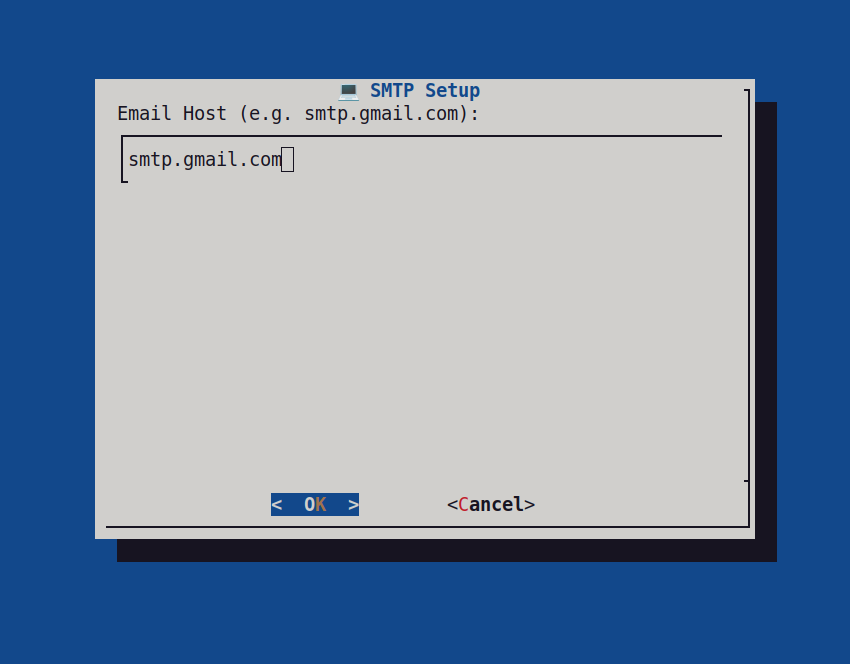

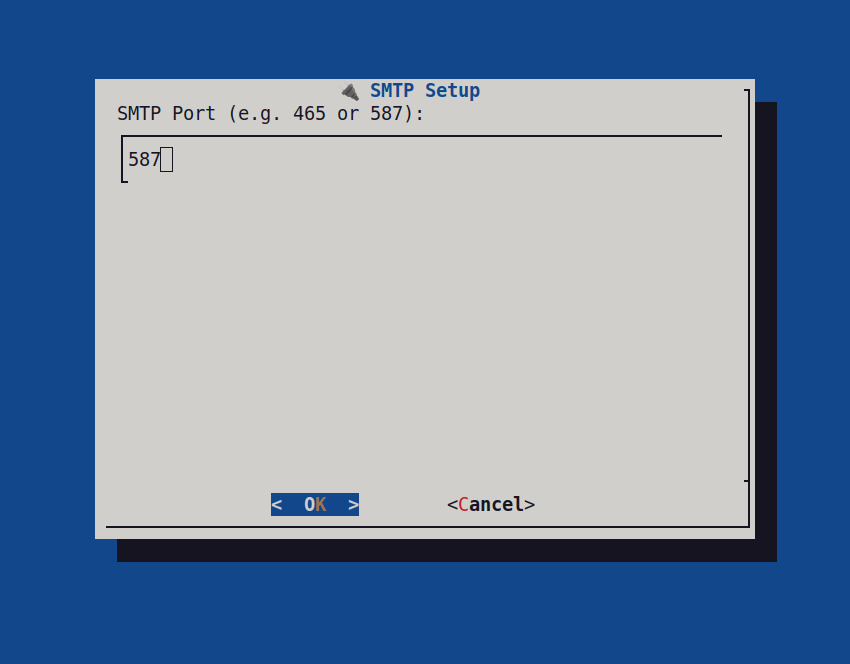
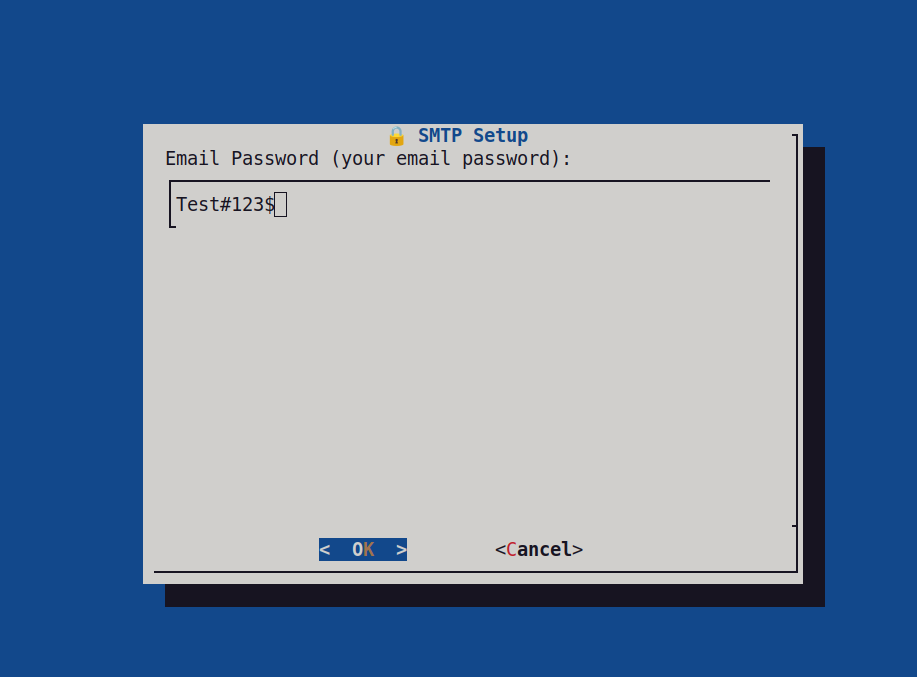
After clicking on "OK" it will continue with progress.
If nginx is already configured it will prompt user with below screen and on click of "OK" it will continue further.

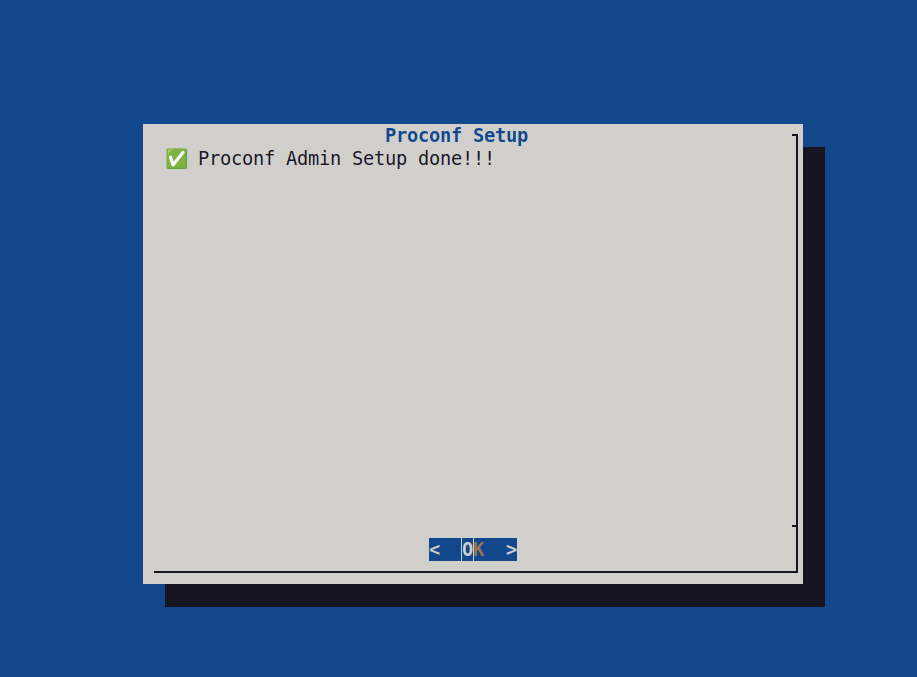
Once ProCONF admin component is installed successfully it will show below screen.
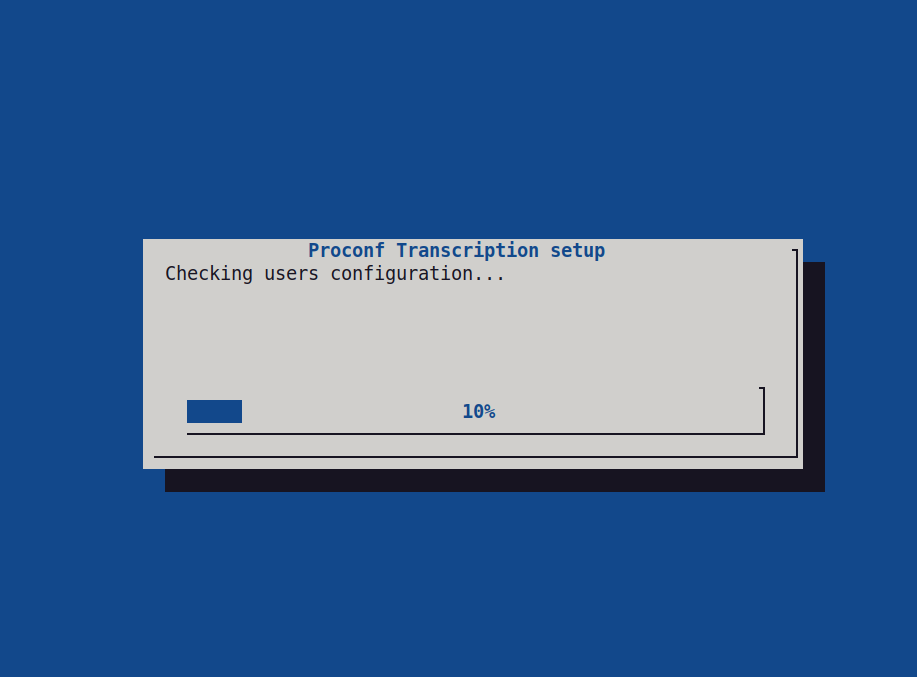
On click of "OK" on above screen it will continue with next component i.e. ProCONF transcription service. It will show below progressive screen.
After progress it will ask user to enter their whisper server websocket URL. It will show prompt for that
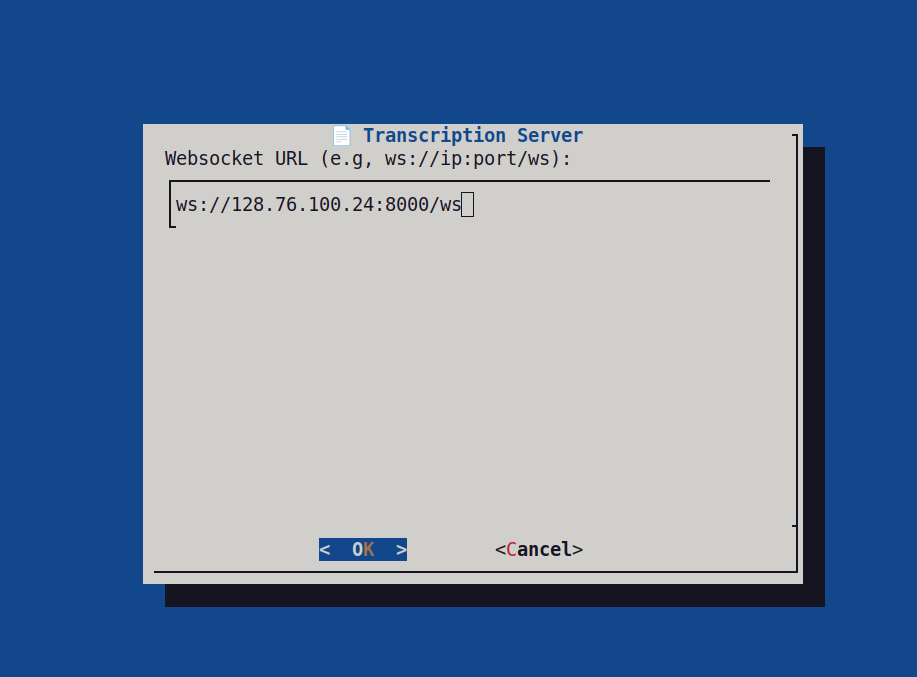
After clicking on "OK" on above screen it will continue with progress.
Once the final installation of ProCONF transcription service is done it will show below screen:

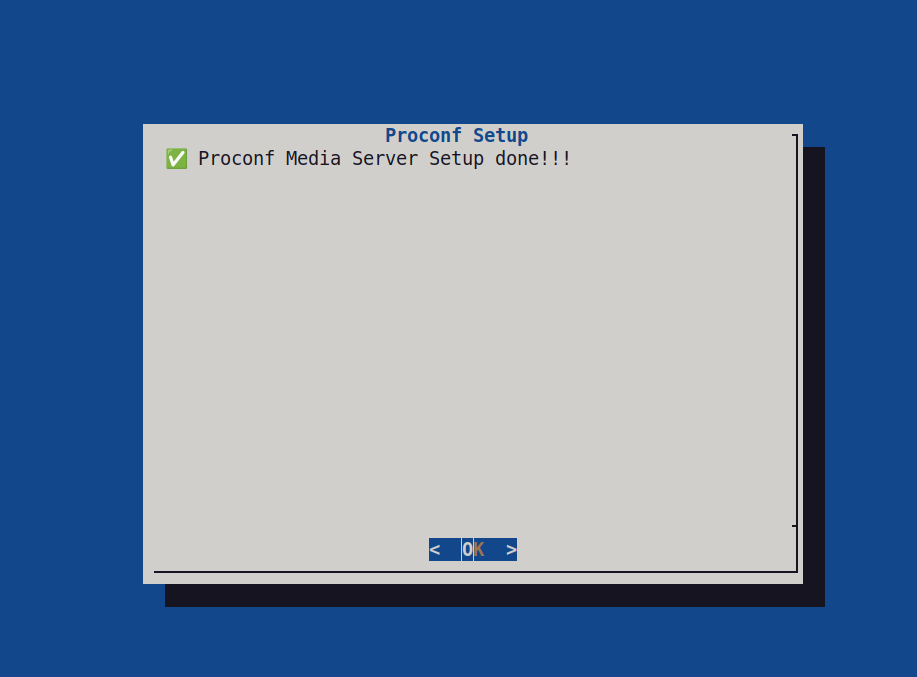
Finally the below prompt is shown after installing all the components:
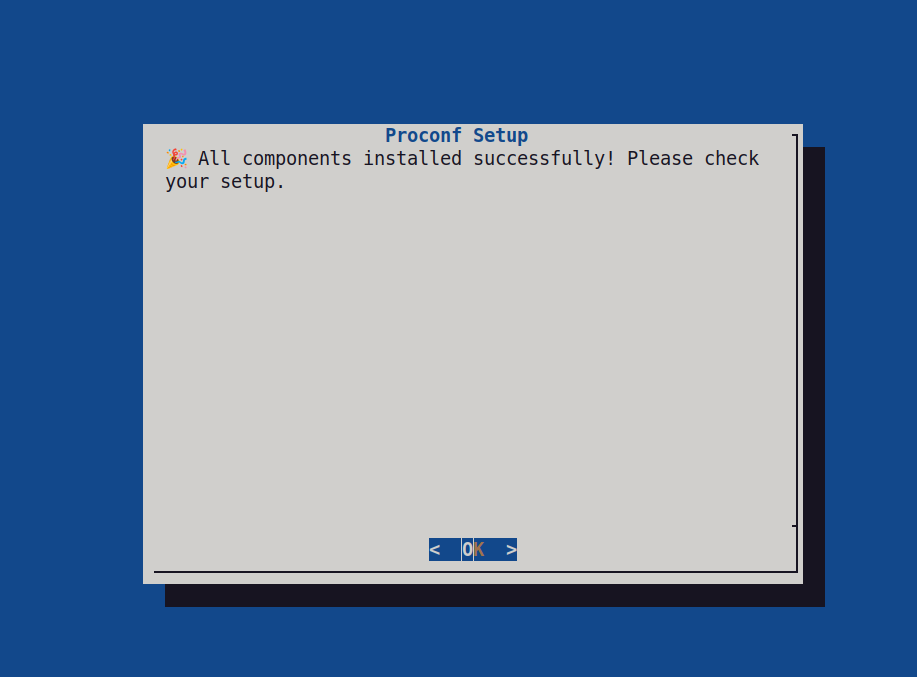
On click of "OK" the script will shows additional info screen as below:
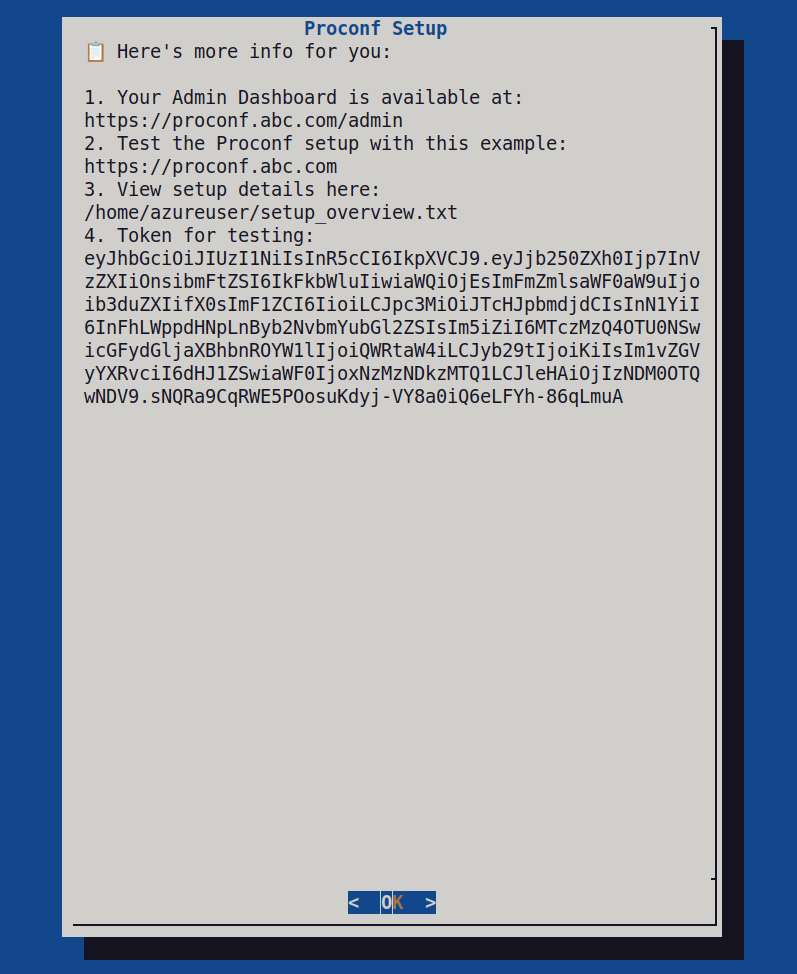
On click of "OK" on above screen the script will exit and you are ready to use ProCONF setup.